:: TVR Vixen Differential ::
The Vixens use a differential from the Triumph Spitfire / Vitesse / GT6. Mine has a ratio of 3.9:1, but others may vary - Triumph did 4 variations,
from 3.4 (i think) up to 4.125. Higher numbers equal more revs for a given speed, but faster acceleration through the gears.
Anyway, mine is leaking (which I'm not overly bothered about) and has a bit of backlash when you move off or change gear (which does bother me). I
met a guy who had a refurbished diff, but had then converted his Vixen to Honda VTEC power, with a different diff, so I bought his!
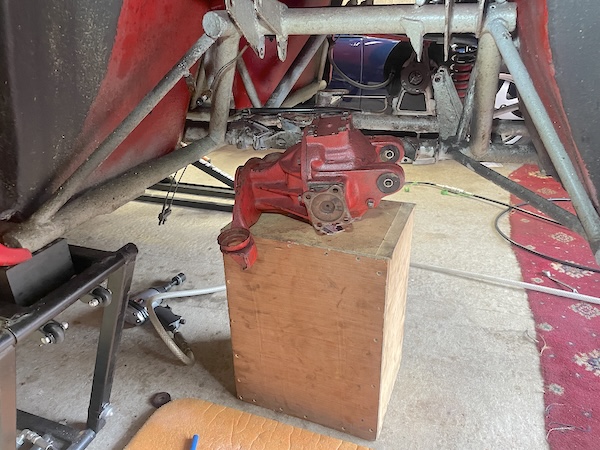
 Here's the diff that I bought. . There's no backlash compared to mine, so it's a "simple" matter of swapping them over. You'll see that it's mounted
in a black frame - I don't need that, it was only used in the very last of the Vixens, that were built onto the new M-Series chassis before that
model was finally released. The M-Series was designed around different running gear, including the diff, and the frame was fitted as an "adapter"
to fit the old Triumph Spitfire / GT6 differential into the new M chassis. .
A bit of online research suggests that there are two methods:
Option 1. Remove rear window, remove hatch in boot floor, lift diff upwards through back window space. Some Vixens (like mine) don't have that
hatch, so you have to cut one. Then you have to hope the back window comes out in one piece, then goes back in one piece, and then seals properly.
You also have to make up a panel to fill the hole in the floor. Too many possible pitfalls in this option!
Option 2 - remove from under car. Remove complete suspension from one side - driveshafts, spring / damper, wishbones, hub and brakes. Then,
apparently, the differential *only just* wiggles out sideways, and the new one wiggles in. Then rebuild suspension etc. That's a lot of work, but
maybe has more certainty than option 1.
 Here's the differential itself. It weighs in at 55 pounds (or around 25 kg). Lighter than it was, but still bleeding heavy.
The bottom chassis rails are 7 inches apart. The diff is 10 inches wide, so it won't drop down. Maybe if you turn it on its side? Nope - the diff
is 8 and a half inches high, and those front mountings are 16 inches apart, so it won't come out on its side either.
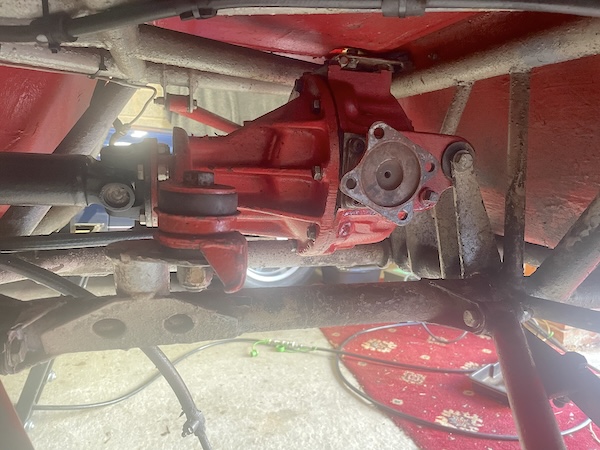
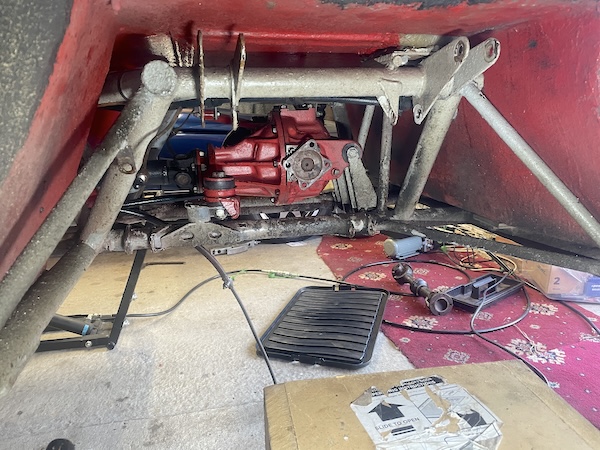
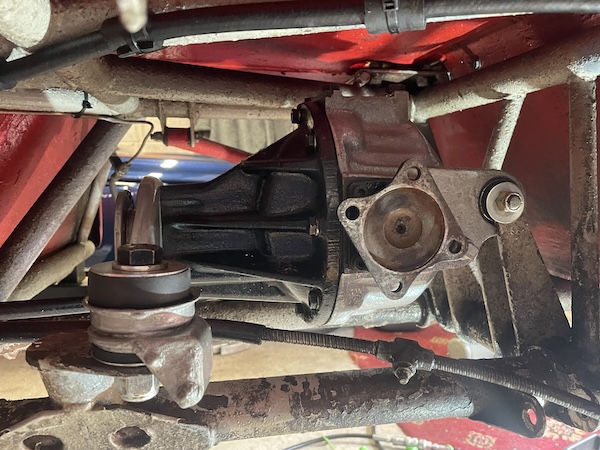
 Here's the differential in the chassis. This photo is taken from the level of the top of the bottom chassis rail. The top chassis rails are further
apart, so the diff should come out sideways through that space.
 There's a shitload of work to get to it though - nearly all the bits you see in this photo have to come off. Then there's an awkward "lift and slide
and support and insert mountings". I need to find an octopus that's built like Arnold Schwarzenegger.
:: Removing the Differential ::
So, let's get busy! First, I lift the car and remove both back wheels. Then I get underneath and remove the exhaust.
Now I need to disconnect the handbrake cable. I disconnect it at the lever first, so that I can release the outer cable at the hub end - then I can
remove the split pin and circlip.
Next, the brake pipe. I disconnect the metal pipe from the inner end of the flexi pipe, and to prevent the system emptying itself on the garage
floor, I screw in a bleed nipple and tighten it, remembering that the fittings are imperial and not metric. Then I can disconnect the inner end of
the flexi pipe.
So far so good...
Next, the drive shafts. These seem to take bloody ages because it's hard to get a spanner on to the nuts when the suspension is at full drop and
the UJs are at full travel.
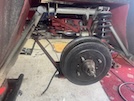 So that gets us to here...
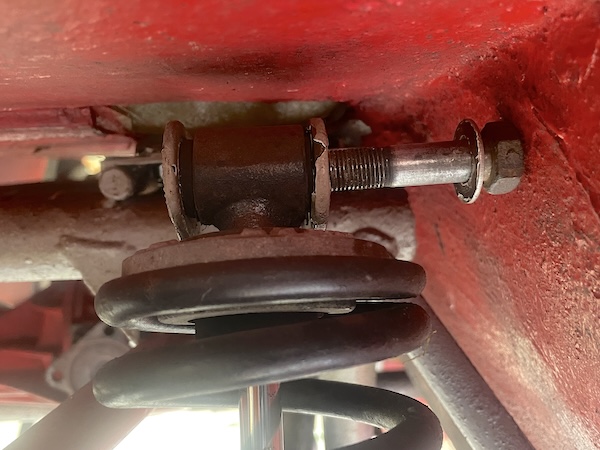
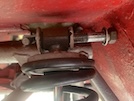 Next, the spring/damper. The nuts comes off ok, but there's a problem with the top one. You see, the car has been rebuilt at some point in the
past, and the damper bolt has been put in from the back, before the body was refitted. With the body on, you can't get the bolt out...
There are two possible cures: One, you make a hole in the body for the bolt to go through, and repair the body afterwards; or two, you cut through
the bolt so that you can take it out in 2 bits. I opt for option 2. I can't get a grinder in, but my air saw fits. It take ages, and 2 blades,
before the bolt is cut through, and I can get the damper off.
Then I put my wooden box under the back hub, and remove the 4 bolts holding the inner ends of the wishbones to the chassis.
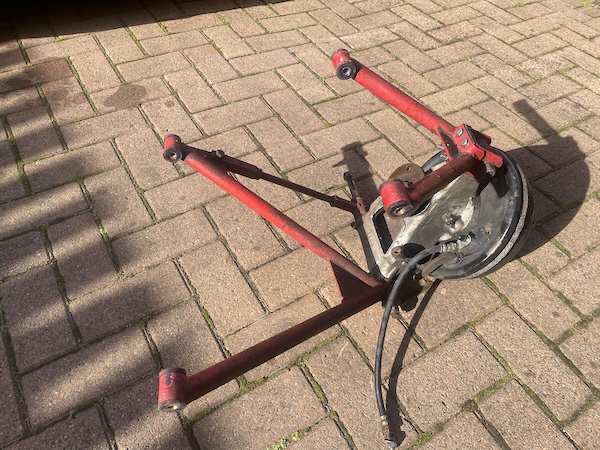
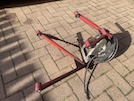 Here's the whole rear suspension, removed from the car...
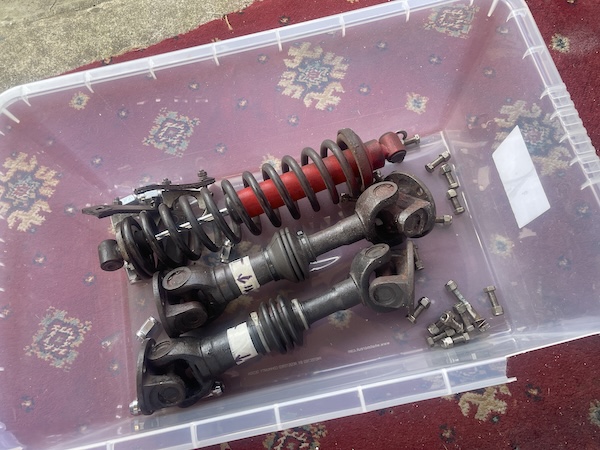
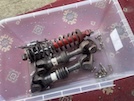 and here's all the other bits and pieces.
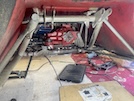 Access to the diff is much improved, and you can see (I think!) how it's going to come out sideways through the chassis, with a bit of wiggling.
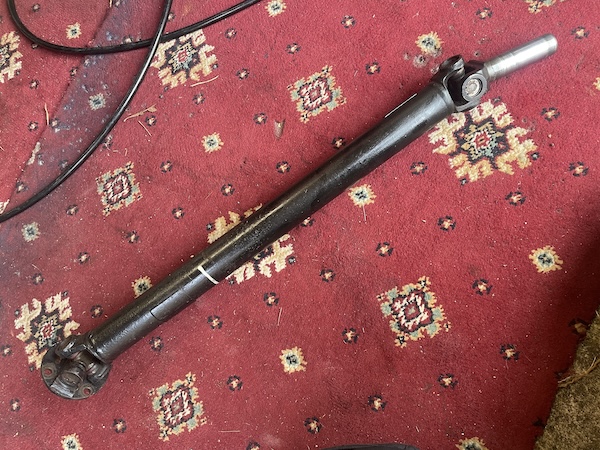
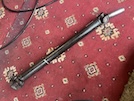 Next task is to remove the propshaft - that's pretty easy, 4 bolts through the flange, then pull it up and out of the back of the gearbox.
Now at last, I can remove the two bolts through the rear mountings, and replace them temporarily with a couple of drifts.
Then I remove the two front mounting bolts, and the upper rubber mountings. So now the diff is sitting loose on those front mountings, with the
rear held in place by the tightness of the rear rubber mountings in the chassis. I remove the two drifts, and use a jack and a bit of wood to
squeeze the back of the diff upwards from the mounts.
Then I get a wooden box alongside the chassis, about 4 inches lower then the bottom chassis rail, and from underneath, I can lift the front of the
diff free of the mounts and twist its arse out through the chassis onto the box. The front of the diff follows, so it ends up on the box backwards.
That wasn't as hard as I thought it would be!
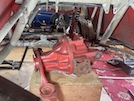 So it's out! I've turned it round the right way so that it's ready for its close-up Mr De Mille.
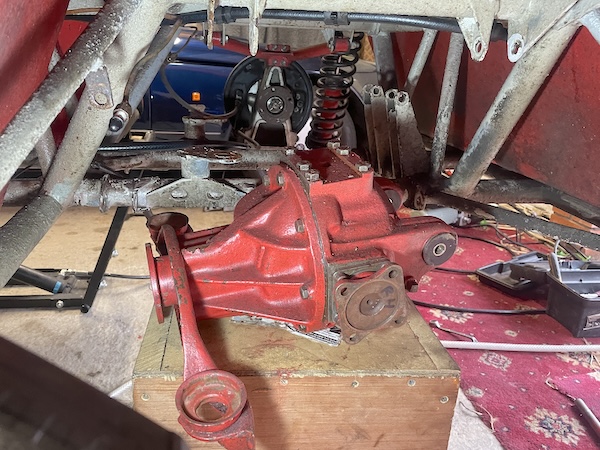
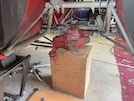 Here's the diff on the box, and the empty space in the chassis.
:: Replacing the Differential ::
First, I place the diff on the box, right way around this time, and lift it up and through the chassis, into position. I find that this works best
if the chassis is a wee bit higher (maybe 4 inches or so) then the box, so that you can tip the diff up and sideways, and kind of rotates into place,
keeping your hand out of the way! I support the back temporarily with a piece of wood, and lift the font of the diff just enough to get a rubber
bush and a steel washer under each mounting. Then the bolt, with the big bush, wiggles through, and I put the nut on loosely with another washer.
Once both front bushes are in place, but not tightened, I lift the back of the diff and line up the mounting holes with a drift, and install the
mounting bolt. Then I can tighten that up, then the two front bushes.
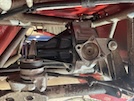 And that's it! The new diff is in position. While I remember, I remove the filler plug and fill it with EP80/90 GL4 gear oil. I don't use GL5 oil
because it has additives that can attack brass or bronze components like bushes (or synchromesh dogs in old gearboxes).
I get the rear hub, complete with wishbones, balanced on top of that box, and apply a wee smear of soap to each of the bushes, just to let them
slide into place between the brackets. I start with the bottom wishbone bolts - wiggle them into place with the help of a rubber hammer on the
outside, and a drift on the inside, and insert the bolts to hold it in place for now.
Then I can swing the assembly up and insert the top bushes into the chassis, and get the bolts through the bushes.
Then I can install the washers and nuts and tighten them up - not all the way, final tightening should wait until the car's weight is on its wheels.
Next the damper and spring - the bottom end slips over the mounting bolt, and then lever the suspension up slightly to align the top bush in the
bracket, and install a new bolt, to replace the one that I had to cut through. Install the top and bottom nuts and tighten them up, again not all
the way.
Then I replace the driveshafts. I have marked them nearside and offside, so that they go back in the same place. 4 nuts and bolts at each end of
each driveshaft takes ages but they're on!
Then I reconnect the handbrake cable, and install the clevis pin and split pin.
Next is the main brake line - connect the flexi hose to the chassis and then the brake line to the flexi.
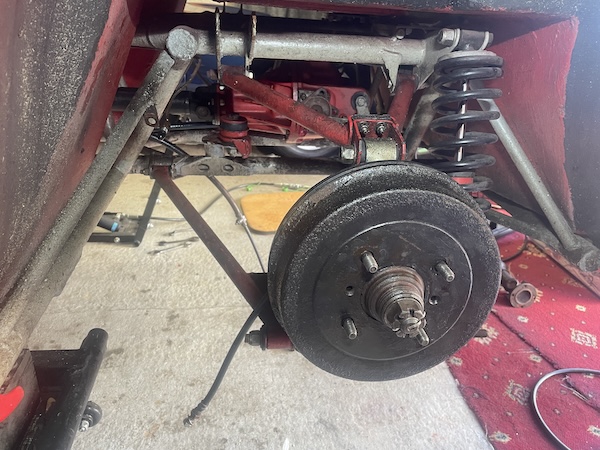
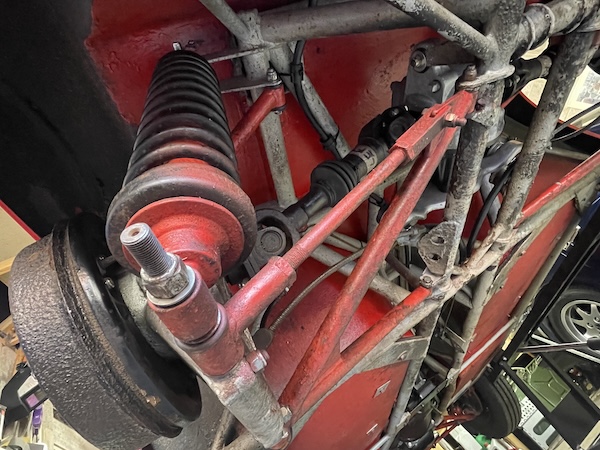
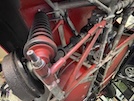 Here you can see the hub, the top and bottom wishbones, the damper and spring and the drivehaft that had to be removed to get to the diff. I know
that it all looks manky - it has a layer of clear rustproofer sprayed on, which looks great when you first do it, but then
everything you drive through sticks to it like shit to a blanket. Looks terrible, but works really well.
Now I can fit the propshaft, and finally, the exhaust.
With that all tightened up, and a few more checks to make sure that I haven't forgotten anything, I lower the car and go for a wee test drive. It's
brilliant - my faith in TVRs is restored!
 Here's the diff that I bought. . There's no backlash compared to mine, so it's a "simple" matter of swapping them over. You'll see that it's mounted
in a black frame - I don't need that, it was only used in the very last of the Vixens, that were built onto the new M-Series chassis before that
model was finally released. The M-Series was designed around different running gear, including the diff, and the frame was fitted as an "adapter"
to fit the old Triumph Spitfire / GT6 differential into the new M chassis. .
 Here's the differential itself. It weighs in at 55 pounds (or around 25 kg). Lighter than it was, but still bleeding heavy.
 Here's the differential in the chassis. This photo is taken from the level of the top of the bottom chassis rail. The top chassis rails are further
apart, so the diff should come out sideways through that space.
 There's a shitload of work to get to it though - nearly all the bits you see in this photo have to come off. Then there's an awkward "lift and slide
and support and insert mountings". I need to find an octopus that's built like Arnold Schwarzenegger.